Elsa, 13th Aug 2022
How Do You Hide A Dash Cam Cable?
Dash cams are the talk of the town, and their valuable features entice everyone to buy them. However, many people are put off by their long cables and disassembled appearance, and in some cases, they even put them back in the box. We agree that the cables can be quite distracting, but you can always hide them neatly. Read further to find out how you can do so.

How to Hide Cable for Dash Cam?
Dashcam cables can shatter the overall look of your car if they are not installed correctly. Moreover, they keep you from concentrating while driving. So, hiding your dash cam cable is necessary to keep you focused on the road while keeping your dashboard clean and clutter-free. You can hide the cables for your dash cam by following the below steps.
1. Connect Your Dash cam
The first step is to place your dash cam where it is required. Determine the location where it will be installed to get a clear view. This must be a place where it can cover a large area while taking pictures and videos.
2. Put the Cable under the Headliner
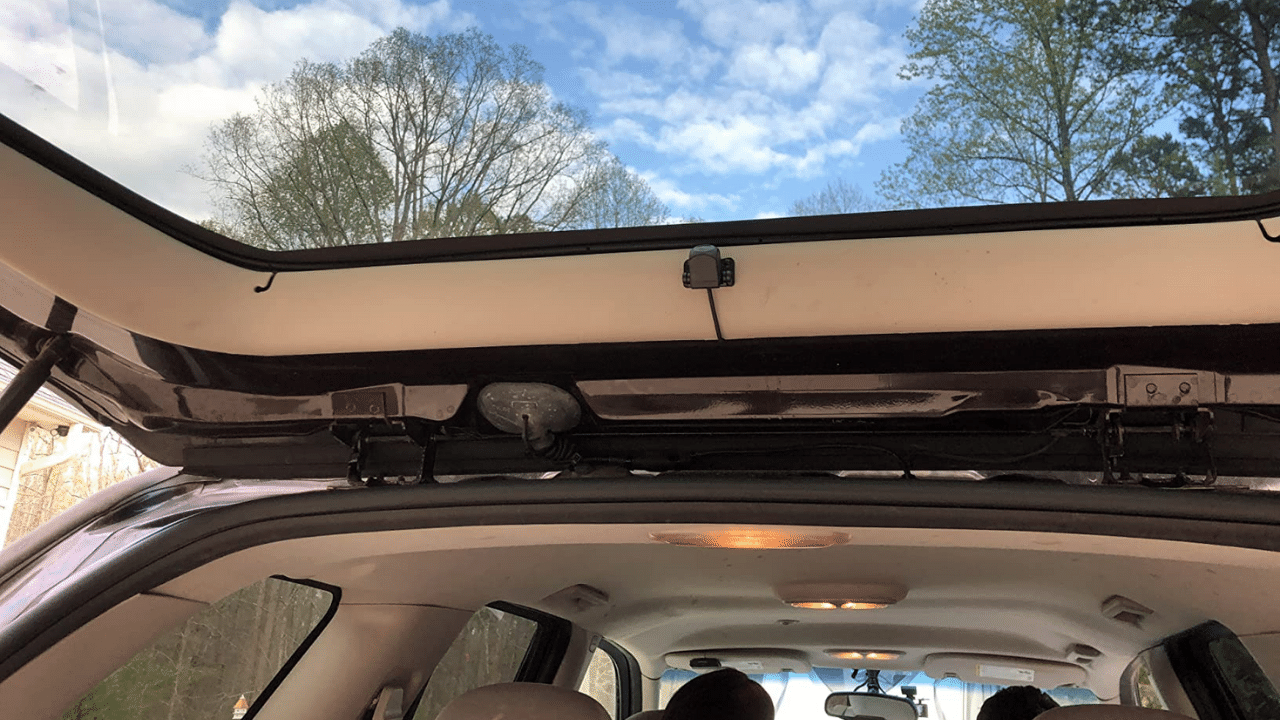
After you are done placing the dash cam, you will have to connect the dash cam extension cable to the power outlet. Put the cable under the headliner by gently pulling it out. Connect the wires along the edge while making sure they are placed neatly.
3. Run it Down to the A-Pillar
The dash cam cable can be routed down the A-pillar in two ways. You can take either the passenger or the driver side route, but people suggest taking the passenger side since most cables are conveniently longer for this. You should not run it straight down the middle of the windshield or use gum tape to do so. You may need to use gum tape in some places but avoid blocking your view in any way.
However, you can also make an alternative choice, especially if you don't mind running the cable down the door on your side (driver's side) of the car. Just make sure it doesn't get slammed when the door closes.
4. Bring the Cable to the Edge of Your Windshield
While directing the dash cam cord towards the side of your windshield, secure it with electrical tape, clips, or glue. This will aid in keeping the cable secure in its location and hidden at its ridges. Nonetheless, do make sure that the wiring does not block the airbag.

5. Hang the Cables around the Dashboard's Corners
Open your car doors and wrap the wire tightly around the edges of your frame. We suggest tucking it without the use of tape or clips. But if that doesn't work out, you can simply use glue or tape. Afterward, tuck the cables inside the molding.
Although you cannot conceal the wire in this area of your car, it does not really matter much since the door is closed most of the time.
6. Run the Cables beneath the Mat
If the cord size isn't an issue, you can run it under your car mat. Alternatively, you can start it from the glove compartment too. This option basically depends on the cable's length.
7. Connect it to the Power Source
Now that you have placed your cable, it is time to connect your dash cam to the power source.
This process can be done by anyone and takes one to two hours to complete. If you do not have so much time on hand, just take your ride and dash cam to your local mechanic. He will do it in no time.
How to Attach Dash Cam Cable?
Installing a dash cam is not as difficult as you might think. Finding the ideal location for a dash cam installation is essential. By far, the most common location for a dashboard camera is on the windshield.
To begin the wire installation process, you must first locate the fuse box in your vehicle. You may need a prying tool or cable extensions depending on your vehicle, your chosen power source, and the camera you are installing. After you have all the components ready, it is time to connect the cables from the device to the power source.
How Do Dash Cams Work?
A dash cam is a small, in-car camera usually mounted on a windscreen and records everything in front and, if preferable by the user, behind the driver too. It records high-quality footage to protect you and your vehicle while driving in case of mishaps.
This device starts to work by automatically recording when the ignition key is turned on. It records in a loop, with each clip recorded on a short 1-minute or 3-minute or 5-minute segment onto a micro SD card.It is recommended to set the video length to one minute, because too long video length will cause the mobile phone and computer device to download the video for too long, and the video file is too large and exits in the middle of the download, which will cause the video download to fail. This footage can be permanently saved on a computer, phone, or tablet and can be accessed later.

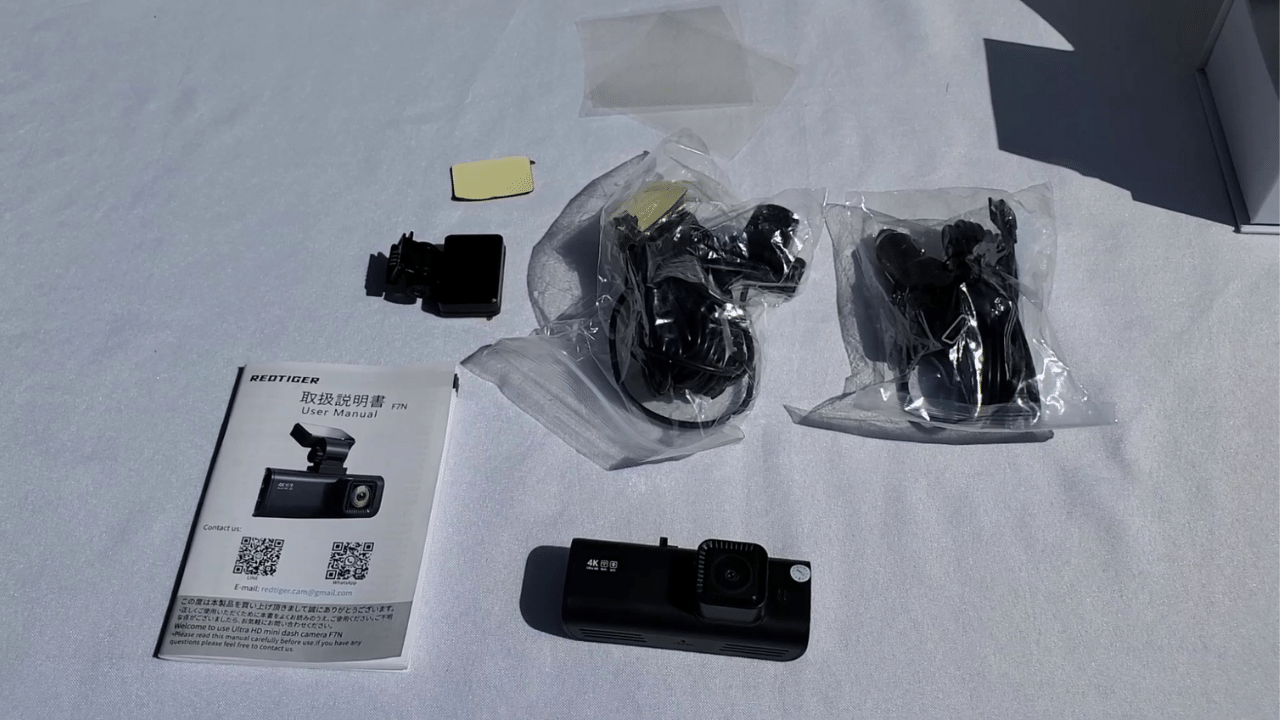
REDTIGER F7NP 4K Front Rear Dash Cam
It is time to finally purchase the most recent dash camera you have been eyeing. Yes, we are talking about REDTIGER dash cam, the F7NP 4K Front Rear. This camera has made its way around the world, with over 30 countries selling it. Its exciting features have gained popularity among drivers around the globe; let's take a quick look at them:
⦿Loop Recording on the car dash cam front and rear cameras allows continuous recording even when the SD card is full. When the G-sensor detects a sudden collision, the REDTIGER dash cam locks the video and saves it.
⦿The front and rear dash cam has an ultra-large F1.5 aperture and 6 layers, as well as HDR/WDR technology, which captures essential details clearly in low-light conditions.
⦿With sony starvisCOMS Sensor, the dash cam can record video up to Ultra HD 4K(3840*2160P)+FHD 1080P resolutions, allowing you to read critical details such as road signs, car license plates, and so on.
⦿This versatile dashboard camera with Wi-Fi streaming can connect to your smartphone app and allows you to download as well as edit videos.
⦿One-click sharing allows you to share your wonderful moments with friends and family.
⦿End users highly recommend the front and rear dash cam due to its simple hardwire installation.
There you go, now you know how to hide dash cam wires effectively.


